Verify business in Docusign
The Middesk app for Docusign verifies a signer’s business name, address, and Taxpayer Identification Number (TIN) against official records while they complete an envelope. Middesk returns a pass or fail result to Docusign, so you can require valid business details before a document is signed.
This guide covers the one-time setup: install the app, connect your Middesk API key, and add verification fields to an envelope.
This app supports US businesses. It requires a Middesk account and a Docusign eSignature account with the Premium DV add-on, or a Docusign IAM CX plan. Installing Docusign apps generally requires admin permissions.
How it works
When a signer fills in the Middesk fields on an envelope, Docusign sends the values to the app. The app runs a single business lookup with Middesk and returns one of two outcomes to the signing session—pass or fail—usually within a few seconds. There is no partial result.
The signer can correct any issues by referring to the message highlighting checks that passed or failed.
The app decides pass or fail by applying an acceptance policy associated with the verification levels you choose to the review tasks Middesk returns.
Understanding review tasks
Middesk returns a review task for each verification with its own unique success, warning, and failure statuses that may require additional review.
Understanding verification levels
The app offers three verification levels. They use the same fields but apply progressively stricter rules for what counts as verified. Choose the level that matches your risk tolerance. Standard and Strict require a TIN; Flexible does not.
You may also see two older options, Businesses (Full Address) and Businesses with TIN (Full Address). For new envelopes, use one of the three levels above.
How to set up Middesk with Docusign
Install the app from the Docusign App Center
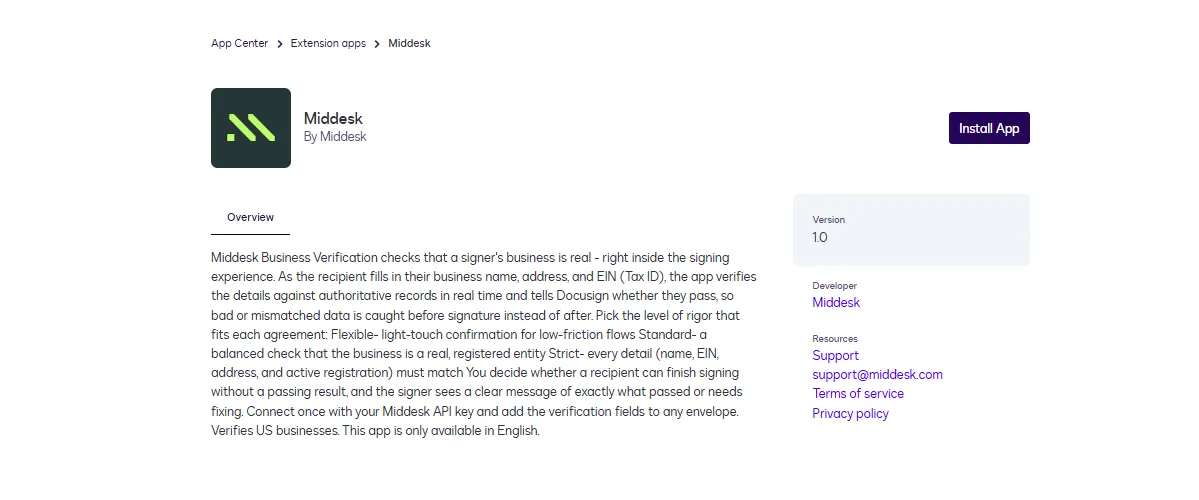
Sign in to Docusign at apps.docusign.com, search for Middesk, and open the listing. Select Install, accept the permissions and terms if prompted, then choose the account to install into and confirm. The verification fields then become available in the envelope editor.
Connect your Middesk API key
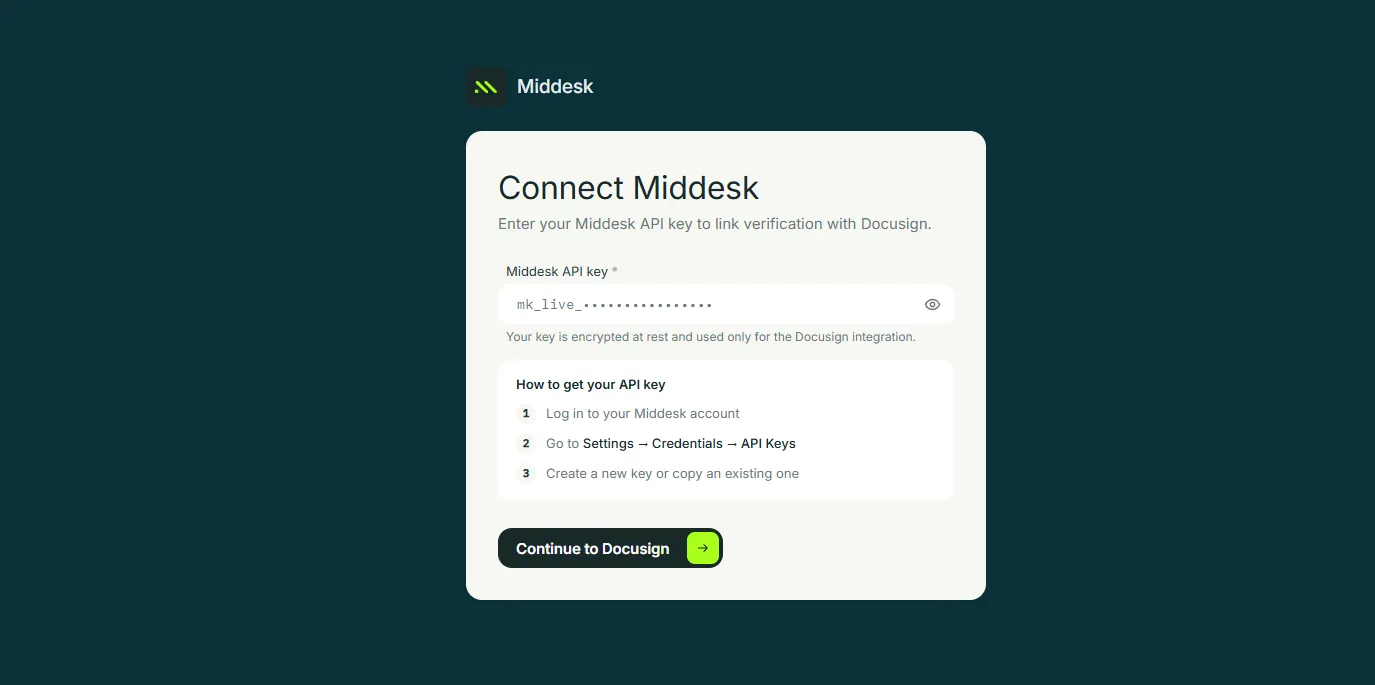
The first time you use the app, Docusign opens a Connect Middesk window.
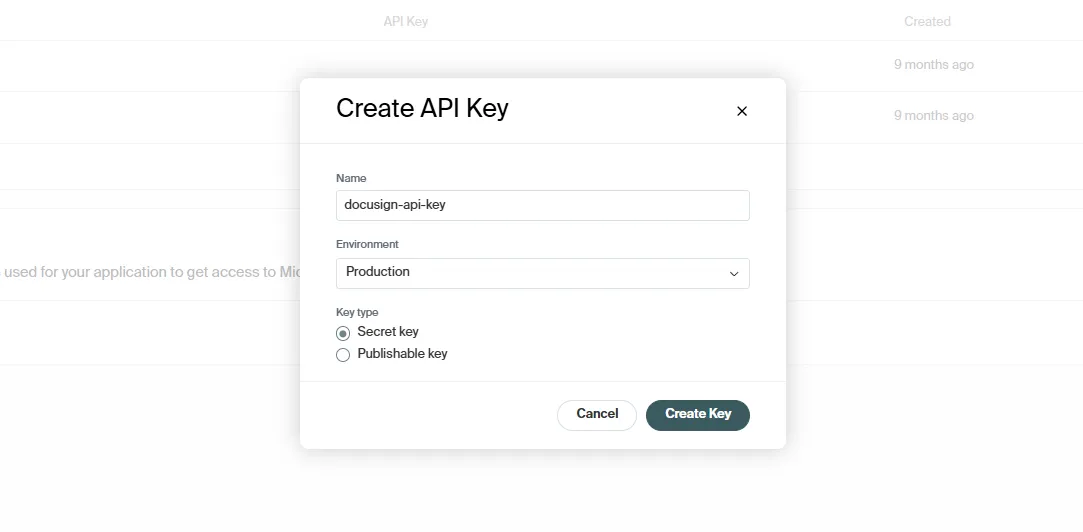
To find your key, sign in to the Middesk Dashboard at app.middesk.com and go to Settings → Credentials → API Keys. Create a new key or copy an existing one. Live keys begin with mk_live_ and verify against real records; sandbox keys begin with mk_test_ and are available in the sandbox environment for testing.
Paste the key into the Middesk API key field, then select Continue to Docusign. Middesk encrypts the key at rest and reuses it until you disconnect or rotate it.
Add verification fields to an envelope
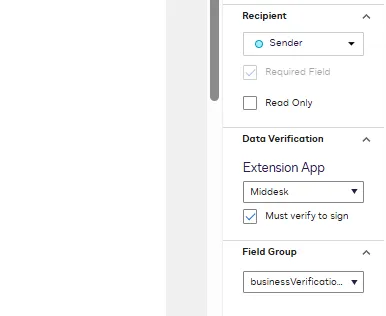
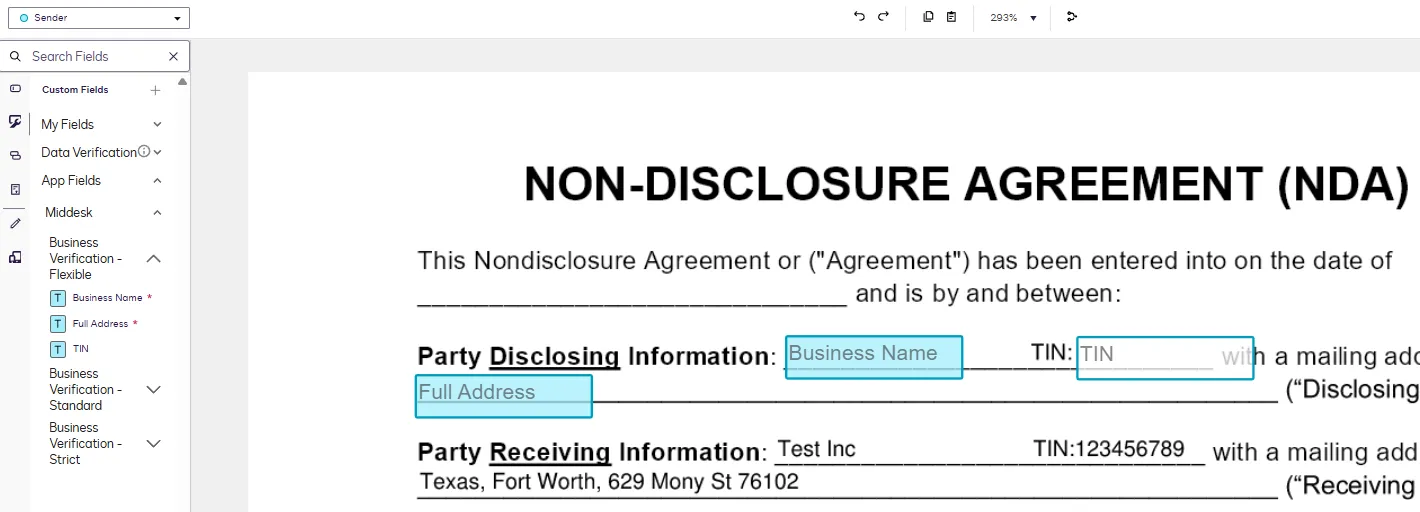
Start a new envelope, add your documents and recipients, and continue to the tagging screen. In the fields panel, open Custom Fields, select Middesk, and choose a verification type. Drag each field onto the document, assign it to the recipient who enters the business details, and send the envelope as usual.
The available fields are:
- Business name
- Full address
- TIN (labeled TIN in Docusign)
Choose a verification level
Set the field to Flexible, Standard, or Strict, depending on your risk tolerance. See verification levels for the rules that have to be satisfied for each level.
Set what happens when verification does not pass
Configuration of the field in Docusign determines the behavior when a verification fails. When you place the field, you can either require the recipient to pass verification before they finish signing, or let them complete signing even when the business data was not verified so you can follow up later. Set this to match your policy.